


Table of Contents
DIY: How to Make Your Own Opal Jewelry at Home
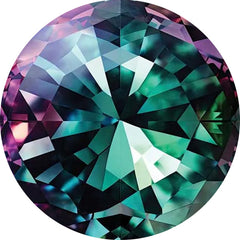
Don’t we all love opals for the way they catch the light. It feels like tiny galaxies shimmering on your skin. But what if, instead of just buying a piece, you could make your own?
Imagine wearing a ring, a pendant, or earrings that you crafted yourself – totally unique, just like you. But you don’t need to be a professional jewelry to create one. With a few basic tools and a creative vision, you can make DIY opal jewelry from the comfort of your own.
In this article, we will elaborate the steps you need to follow alongside tips for opal selection, sourcing, and maintenance.
Choosing the Right Opal for Your Jewelry
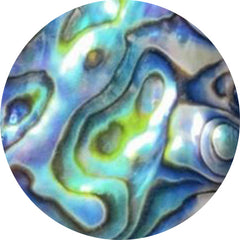
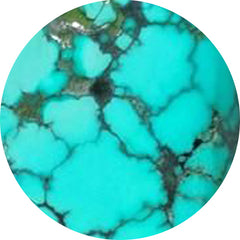
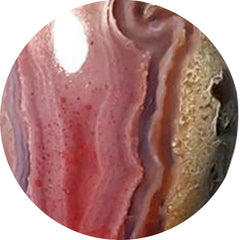
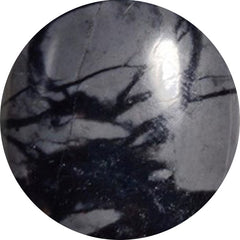
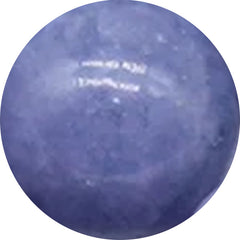
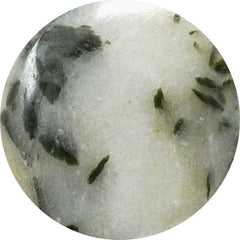
Before diving into the actual crafting process, selecting the right opal is crucial. Opals come in various types, and each has unique characteristics that determine their suitability for different jewelry pieces. So, let’s dive deeper into different types of opals:
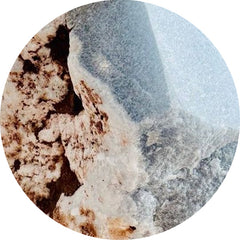
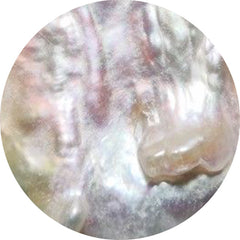
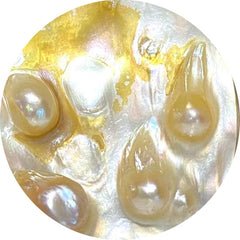
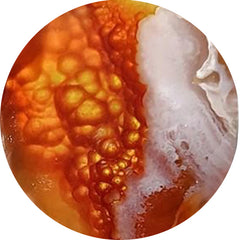
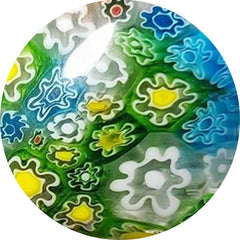
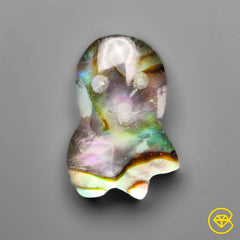
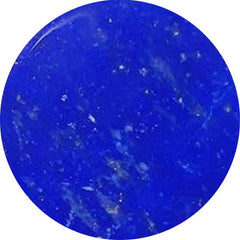
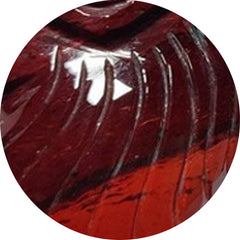
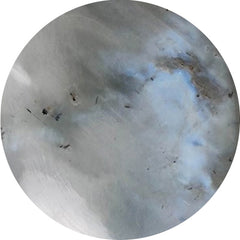
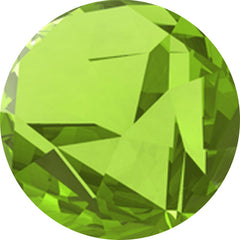
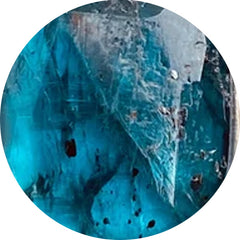
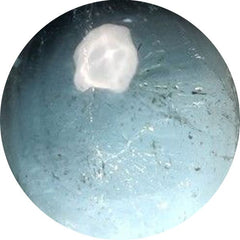
Solid Opals
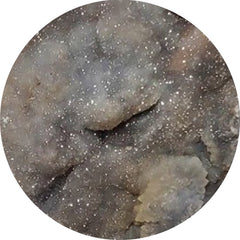
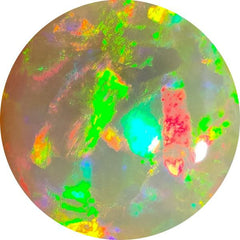
They are the most valuable and natural form, consisting of 100% opal. These opals display brilliant play-of-color and are typically used in high-end jewelry. However, they need extra care to prevent cracking.

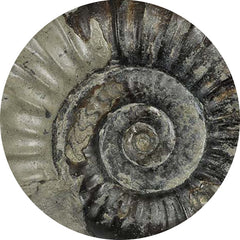
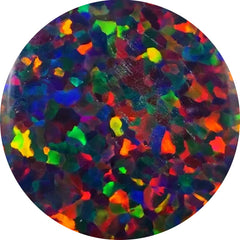
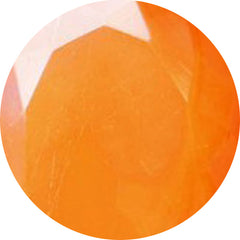
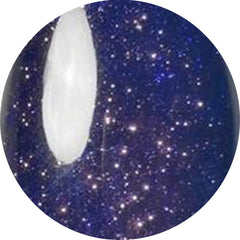
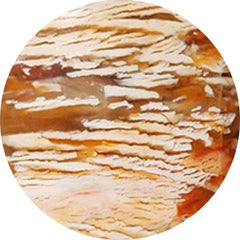
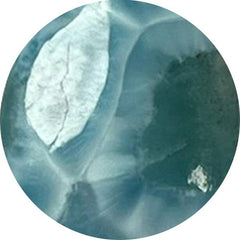
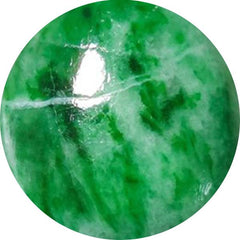
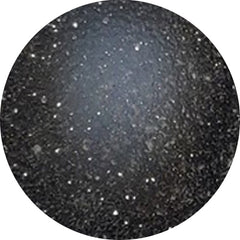
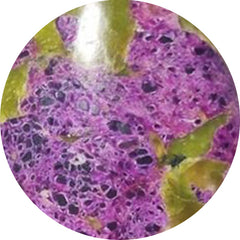
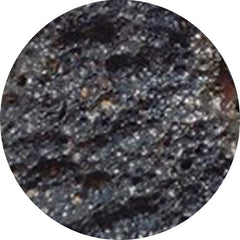
Doublets
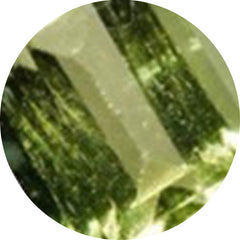
It refers to a thin layer of opal glued to a backing (usually ironstone or black potch) to enhance color. These are more durable than solid opals and often exhibit vibrant color play due to the dark backing.

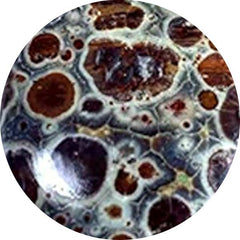
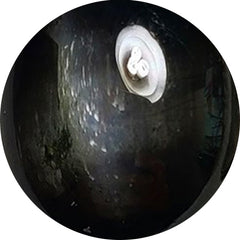
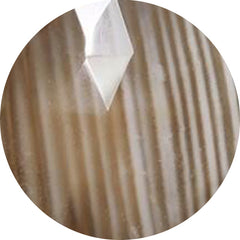
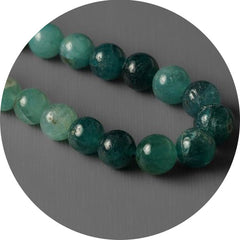
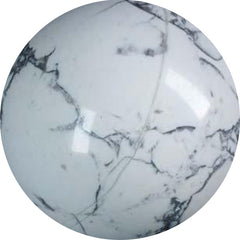
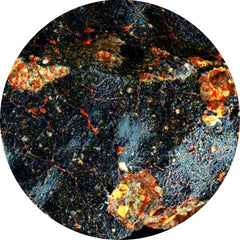
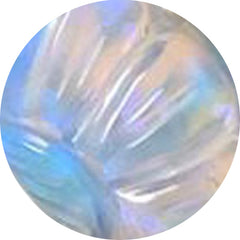
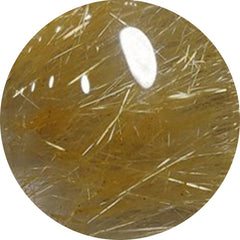
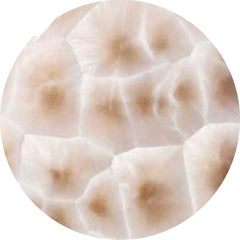
Triplets
These are similar to doublets but with an added clear quartz or glass layer for protection. Triplets are an excellent choice for those who want the look of solid opals but with enhanced durability.

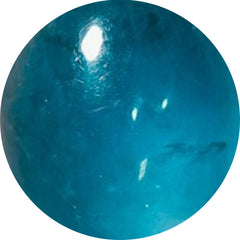
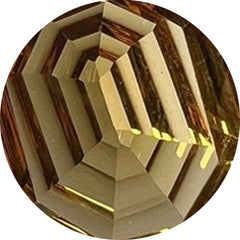
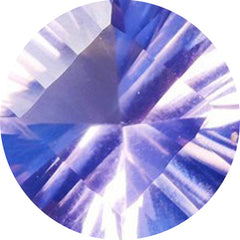
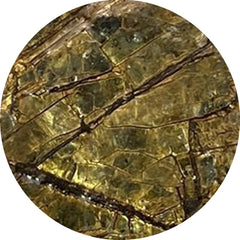
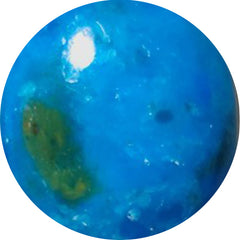
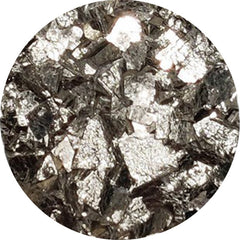
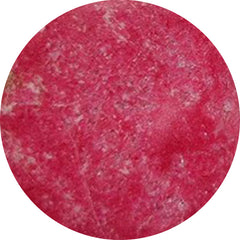
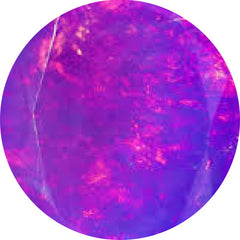
Synthetic Opals
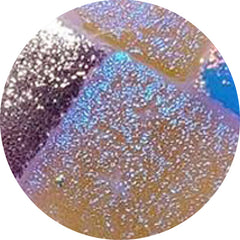
Lab-created but still contain a silica structure similar to natural opals. These are budget-friendly options that allow you to experiment with opal jewelry-making without worrying about high costs.

For beginners, doublets and triplets are more affordable and easier to work with, while solid opals require extra care due to their fragility. If you want a genuine look but with increased durability, triplets might be your best bet.
Tips for Selecting Opals
- Choose opals with vibrant play-of-color. The more intense the colors, the more eye-catching your jewelry will be.
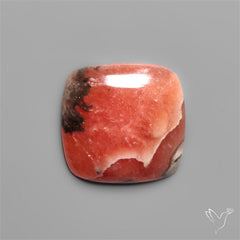
- Consider the shape of the opal. Cabochon-cut opals (domed surface) are the easiest to set and enhance the stone’s brilliance.
- Be mindful of opal thickness. Thicker stones are sturdier and easier to work with.
- Always purchase the gemstone from reputable suppliers to ensure authenticity and quality.
Are Opals Durable for Everyday Wear?
Opals are undeniably enchanting, but when it comes to durability, they require a little extra care. Unlike diamonds or sapphires, which are known for their hardness, opals are softer and more delicate. They rank between 5.5 and 6.5 on the Mohs scale, meaning they can scratch or chip more easily if not handled with care.
Does that mean you can’t wear them every day? Not at all! It just means being mindful of how you wear and care for them. If you’re choosing an opal for a ring, especially one you'll wear daily, consider a protective setting, such as a bezel. It encases the stone and shields it from accidental knocks. On the other hand, pendants and earrings are naturally safer from impact and make excellent choices for everyday opal jewelry.

Choosing the Right Opal for Everyday Jewelry
Opals can absolutely be part of your daily jewelry collection. With the right setting and a little care, you can enjoy their dreamy glow every day without worry. A gemstone, this magical one deserves to be worn, not tucked away. However, you need to choose the right opal depending on the jewelry type to ensure its longevity. Here’s what you need to consider:
| Opal Type | Durability |
| Solid Opals | These are completely natural and can last a lifetime with proper care. They are ideal for earrings and pendants, where the risk of impact is lower, but they can also work in rings if set in a protective design like a bezel. |
| Opal Doublets and Triplets | These are layered opals with a backing (doublets) or a protective top layer (triplets), making them slightly more resilient but sensitive to moisture. They are best suited for necklaces and earrings, where exposure to water and rough surfaces is minimal. |
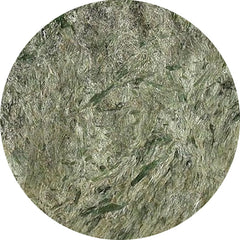
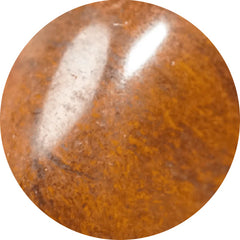
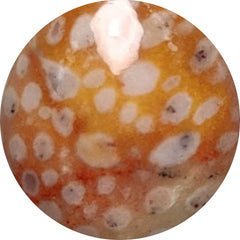
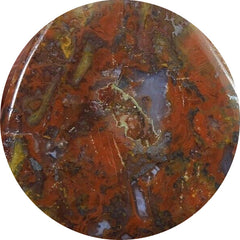
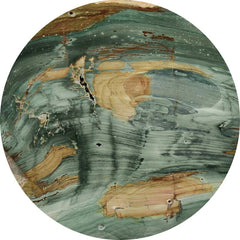
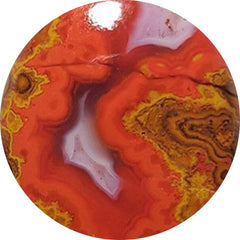
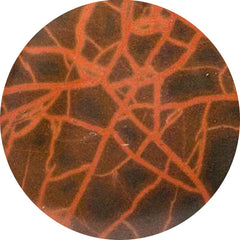
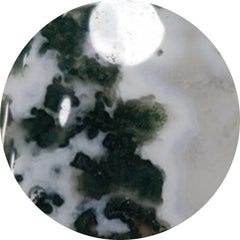
| Boulder Opals | They are one of the strongest opals, as they naturally form within an ironstone backing, making them more durable. Boulder opals are a great choice for rings and bracelets, which tend to experience more wear and tear. |
Read here to know more about the different types of opals and how to identify them.
How to Wear Opal Jewelry Every Day?
If you love the idea of wearing opals daily, the key is protection and care. For rings, choose sturdy settings like bezels that encase the stone, shielding it from accidental knocks.
However, if you plan to wear an opal more often, consider pendants or earrings. Such jewelry pieces are naturally safer from impact.
Another factor to keep in mind is moisture. Opals have a higher water content compared to other gemstones, which makes them sensitive to extreme dryness or sudden temperature changes. That’s why you should keep them away from prolonged direct sunlight or very dry environments. It helps preserve their mesmerizing play of colors, letting their ethereal glow become a part of your daily style.
Basic Tools You’ll Need for Making Opal Jewelry
Before you dive into making your own opal jewelry, let’s talk about the tools. Just like a chef needs knives, a jewelry maker needs the right set of tools to create something beautiful. But don’t worry, as most of these are easy to find, and once you get comfortable using them, you’ll be crafting like a pro in no time!
Jewelry Pliers (Round-Nose, Flat-Nose, and Wire Cutters)
Think of these as the multitool of jewelry making. Round-nose pliers help create perfect loops for wire-wrapped designs, while flat-nose pliers give you a solid grip to shape and adjust metal. As the name suggests, wire cutters are for snipping wires cleanly without damaging your design. If you’re working with jump rings, clasps, or bending metal, these pliers will be your best friends.

Jewelry Saw or Rotary Tool (Like a Dremel)
If you need to shape your opal setting or cut metal, a jewelry saw or Dremel rotary tool is your go-to. A saw is great for precise cuts, while a rotary tool can make quick work of refining edges, drilling holes, and even engraving designs. If you're planning on setting your opal in a custom metal piece, you’ll love how much control these tools give you.

Fine Grit Sandpaper (600 to 1200 Grit)
Once you’ve shaped your metal settings, you’ll want them to be smooth and polished. Fine-grit sandpaper helps remove rough edges and imperfections, ensuring your final piece has a sleek, professional finish. Start with a lower grit (600) and work your way up to a higher grit (1200) for a silky-smooth surface.

Polishing Compound
Want that showroom-worthy shine? A polishing compound delivers that for you. It buffs out tiny scratches and gives metal a mirror-like finish. You can apply it using a soft cloth or a polishing wheel on your rotary tool.

Adhesive (Such as E6000 for Setting Stones)
If you’re not soldering, you’ll need a strong adhesive to keep your opal secure in its setting. E6000 is a favorite among DIY jewelers because it’s durable, clear, and creates a solid bond. Just remember: a little goes a long way! Apply a tiny amount, press your opal in place, and let it set fully before wearing your masterpiece.

Bezel Settings (For Rings, Pendants, or Earrings)
A bezel setting is a metal rim that holds your opal securely in place. If you’re new to jewelry-making, using pre-made bezel settings is a great option since they take the guesswork out of crafting a secure setting. Whether you’re making a ring, pendant, or earrings, bezels give your opal that clean, polished look.

Sterling Silver, Gold, or Copper Wire (For Wire-Wrapped Pieces)
Wire wrapping is a fantastic option if you love freeform designs and want to skip traditional metalwork. Whether you choose sterling silver, gold, or copper, you can twist and wrap wire around your opal to create a unique, bohemian-style piece. Plus, wire-wrapped jewelry requires minimal tools—just your pliers and some creativity!

Jewelry Findings (Jump Rings, Clasps, Earring Hooks, Chains, etc.)
Jewelry findings are the small but essential components that hold everything together. These work as the final touches that complete your design. Jump rings connect charms or pendants to chains, clasps secure necklaces and bracelets, and earring hooks turn your opals into dazzling earrings. Keep a variety of these on hand so you can finish each piece seamlessly.

Additional Materials for a Professional Finish:
- Soft polishing cloth – Keeps your opal jewelry looking clean and bright.
- Resin or epoxy – Can be used to coat opals for extra durability in certain designs.
- Bench pin and clamp – Helps stabilize your work area for precise crafting.
- Protective eyewear and gloves – Safety first! Protect yourself when using tools like saws or rotary devices.
Designing Your Opal Jewelry
Now that you have your opal and tools ready, it’s time for the fun part—designing your jewelry! This is where you get to unleash your creativity and decide what kind of piece you want to make. However, you need to map out exactly how your final piece will look before you start assembling it.
You can grab a sketchbook and start sketching ideas that come to your mind. Here are a few things to consider when designing your opal jewelry:
Choosing Between a Ring or a Pendant
The size and shape of your opal can guide your decision.
Larger opals often work beautifully in pendants since they naturally become a focal point. A pendant also allows more creative freedom. Thus, you can go for a simple bezel setting, a bohemian wire wrap, or even an asymmetrical design that highlights the opal’s unique shape.
On the other hand, smaller opals are perfect for rings because they sit comfortably on the finger without feeling bulky. If you’re using multiple opals, you could even design a cluster ring or a dainty stackable piece.
If you have a pair of matching opals, you can make studs, dangly earrings, or even chandelier-style pieces for extra drama.

Minimalist vs. Elaborate
You need to zero down your style. Do you love a clean, modern look, or do you prefer intricate, artistic details?
Minimalist designs often feature a single opal in a sleek bezel setting. This is an elegant, timeless style that lets the opal shine without distractions. On the contrary, elaborative designs allow for more personality and craftsmanship. If you love a vintage or boho feel, consider wire-wrapping, filigree metalwork, or even engraving details into the metal setting. You can also mix in accent stones like tiny diamonds, moonstones, or turquoise for an extra touch of glamour.

Choosing the Right Metal
Your choice of metal can completely transform the look of your opal jewelry. The following ones are considerable choices:
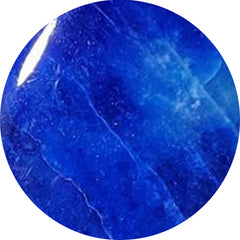
- Sterling Silver – Enhances the cooler hues in opals, making blues, greens, and purples stand out beautifully. Perfect if you love a modern or ethereal vibe.
- Gold (Yellow or Rose Gold) – Brings out the warm fire tones in opals, like oranges and reds. Rose gold, in particular, creates a romantic, vintage look that pairs stunningly with opals.
- Copper or Brass – If you want an earthy, antique-inspired piece, these metals add a rustic charm. Copper pairs beautifully with opals that have golden undertones, giving them a warm, rich glow.

Other Design Considerations
Designing your own opal jewelry is where creativity meets personal expression. Whether you're crafting a statement piece or something delicate for everyday wear, it's all about highlighting the stone’s natural beauty.
Start by sketching a few design ideas. It shouldn’t be too complicated, but it should be a rough outline to bring your vision to life. As you plan, keep these key elements in mind:
- Ring or Pendant – Think about how you want to wear your opal. A larger stone makes a stunning pendant, catching the light with every movement. On the other hand, a smaller opal set in a ring can be an elegant, eye-catching piece that feels personal and unique.
- Minimalist or Ornate – Do you love the sleek elegance of a simple bezel setting, allowing the opal’s colors to shine uninterrupted? Or are you drawn to intricate, vintage-inspired designs with delicate wire wrapping and detailed metalwork? Your style will shape how your opal is framed. A freeform opal has this raw, organic beauty, whereas classic oval, round, or teardrop settings impart a more polished, timeless feel to your jewelry.
- Choosing the Right Metal: The metal you choose can completely transform the look of your jewelry. Silver creates a cool, ethereal effect to enhance blue and green opal tones while the gold adds warmth, making fiery red and orange opals pop. Then comes the rose gold, which is like that sweet spot, adding a soft, dreamy effect to your jewelry.
- Finishing: A high-polish shine feels sleek and modern, while a soft, brushed matte has that vintage, lived-in charm. Either way, an opal has magic of its own; it just depends on how you want it to shine.

Whatever you choose, let the opal guide you. Its natural play of colors is already a work of art. Your design simply brings it to life in a way that feels unmistakably you.
Step-by-Step Guide to Making Opal Jewelry
There’s something truly special about crafting your own opal jewelry as each piece carries a personal touch. However, since opals are a bit more delicate than other gemstones, choosing the right setting and technique is key to making your creation last. Let’s walk through the steps to create opal jewelry that’s sure to become a piece of heirloom.
How to Make an Opal Ring?
Opal rings can be stunning statement pieces. But you need to choose the right setting to ensure both protection and style. Here’s how you can do it:
- Prepare the Setting: Start by selecting a bezel setting that fits your opal snugly. A bezel setting, where the metal encircles the stone, offers the most protection. It keeps your opal safe from knocks and scratches.
- Secure the Opal: Gently place your opal inside the bezel. Use a bezel roller or a burnishing tool to press the metal edges over the stone, holding it securely in place. Work slowly to avoid applying too much pressure, which could damage the opal.
- Attach the Band: If your setting isn't already attached to a ring band, solder or glue the setting onto a sturdy band that complements your opal’s shape and size. Make sure everything is aligned before securing it.
- Polish and Finish: Once the ring is assembled, buff the metal to a smooth, polished finish. Consider using a jewelry polishing cloth to enhance the shine and ensure your ring looks as elegant as your opal itself.
How to Make an Opal Pendant?
Opal pendants are a beautiful way to wear these ethereal stones close to your heart. Because pendants don’t experience as much impact as rings, you have more creative freedom with the design. Whether you love the raw, organic look of wire-wrapped opals or prefer a sleek bezel setting, here’s how to turn your opal into a stunning pendant.
- Select an Opal with a Flat Base: A flat-backed opal is easier to set and ensures better adhesion in metal settings. If you’re using a freeform opal, choose a setting style that complements its natural shape.
- Wire Wrapping: If you love a handcrafted, bohemian look, use wire wrapping techniques to encase your opal without the need for glue or soldering. You choose a wire that complements the stone. Prefer silver for cooler tones and gold for warmer hues.
- Bezel Setting: For a more professional finish, set the opal into a metal bezel, similar to the ring-making process. Once secured, attach a bail (a small loop for threading a chain) to transform it into a pendant.
- Finishing Touches: Give your pendant a final polish. If desired, add small charms or accent stones for a personalized touch before attaching them to a delicate chain.
How to Make Opal Earrings?
Whether you’re going for dainty studs or eye-catching drops, earrings let opals shine without too much exposure to rough surfaces. But to get that perfectly balanced look, choosing matching opals and secure settings is key. Let’s create a pair of earrings that glow from every angle.
- Choose Matched Opals: If you're making a pair of earrings, look for similar-sized opals with matching colors and patterns for a well-balanced look.
- Use Bezel or Prong Settings: Bezel settings offer more protection for the opals, while prong settings allow more light to pass through. It accentuates the stone's natural glow. Pick what suits your vision.
- Attach Earring Hooks or Studs: Secure the opal settings to earring posts or hooks, ensuring they are fastened tightly to prevent any wobbling or detachment over time.
- Polish and Clean: Before wearing or gifting your handmade earrings, polish the metal for a flawless finish. Then, gently clean the opals to bring out their full spectrum of colors.
Caring for Your Handmade Opal Jewelry
Opals are breathtakingly beautiful, but they’re also a little more delicate than other gemstones. With the following mindful habits, your opal jewelry can stay as radiant as the day you made it.
- Avoid Water Exposure: Opals contain water and can be sensitive to moisture changes. Prolonged exposure to water, especially for opal doublets and triplets, can cause the layers to separate or develop a cloudy appearance. So, be careful when washing hands, showering, or swimming while wearing your opals.
- Store Properly: Opals are softer than most gemstones, which means they can get scratched easily if tossed into a jewelry box with harder stones. To keep them safe, store your opal jewelry in a soft cloth pouch or a fabric jewelry box. Ensure to keep it away from direct sunlight or extreme temperatures.
- Clean Gently: Harsh chemicals and ultrasonic cleaners can damage opals. So, stick to a gentle cleaning routine. A soft, damp cloth with a little mild soap is all you need to remove dust or dirt. However, always dry the piece completely before storing it.
A little extra care is all you need to preserve the enchanting glow of your opals!
Customizing Your Opal Jewelry
Your opal jewelry should be as unique as you are, and there are plenty of ways to infuse a personal touch into your designs. Whether you prefer something classic or a bit more eclectic, small custom details can transform your piece into something truly special. Here’s how you can infuse a touch of your personality into the jewelry:
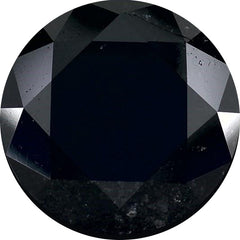
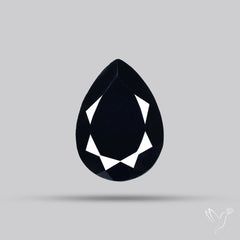
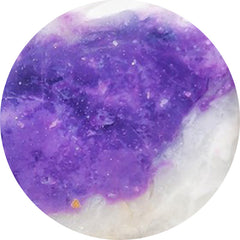
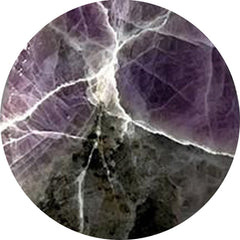
- Mixing Gemstones: Pairing opals with other ethereal stones like moonstone, amethyst, or aquamarine can create a dreamy, celestial aesthetic. If you love bold contrasts, black opals with diamonds make a striking combination.

- Adding Engravings: A delicate engraving on the metal setting, like a meaningful date, initials, or a tiny symbol, can make your opal piece even more personal. It adds a sentimental value to that jewelry.

- Experimenting with Metal Tones: The metal you choose can dramatically affect how your opal shines. Yellow gold enhances warm fire tones, rose gold adds a romantic touch and sterling silver or white gold brings out cooler hues. Mixing metals can also help create a unique, contemporary look.

Jewelry isn’t just about aesthetics but about telling a story. So, play around with these elements until your opal piece feels like a perfect reflection of you.
Where to Source Opals and Materials?
Finding the right opal is where all the magic lies. Whichever variety of opal you’re searching for, knowing where to get from can make all the difference. So, let’s dive deeper into it!
- Etsy & Online Gem Suppliers: If you love the convenience of online shopping, platforms like Etsy and other specialized opal dealers offer a wide range of raw and polished opals. Ensure to check reviews and verify authenticity before purchasing. You can also check out our opal gemstones for sale here — ethically sourced, expertly graded, and perfect for your next DIY creation
- Local Jewelry Supply Stores: Sometimes, seeing gemstones and settings in person makes it easier to visualize your final design. Many local jewelry supply stores carry opals, settings, and the tools you’ll need to bring your design to life.
- Lapidary Clubs & Gem Shows: If you’re looking for something truly unique or want to connect with fellow jewelry makers, then gem shows, and lapidary clubs are good places to find high-quality stones. Chances are that you may get gemstones at better prices than retail stores.
Experience the Joy of Wearing Something That’s Truly Your Own
There’s something special about creating your own opal jewelry. It’s like crafting a piece that holds a personal touch and a meaning and reflects your style.
Whether you’re shaping a delicate wire-wrapped pendant or setting a mesmerizing opal into a bezel ring, each step brings a sense of fulfillment and artistry. But the best part is that you don’t need to be an expert to start.
With patience, practice, and a little inspiration, you’ll soon find yourself creating show-stopping DIY pieces.
Play with designs, experiment with materials, and, most importantly, enjoy the process.
If you need some design inspiration, our blog on Opal in Jewelry: The Most Stunning Opal Jewelry Trends will surely delight you!
Frequently Asked Questions (FAQs)
Is it difficult to make opal jewelry at home?
No, with the right tools, creativity, and patience, you can create stunning opal jewelry. However, start with a simple design like a pendant or ring before moving on to more intricate settings.
What tools do I need to set an opal into jewelry?
You'll need basic tools like jewelry pliers, a bezel setting, jeweler's glue (for beginners), a polishing cloth, and a soft brush. If you're into metalworking, a soldering kit and prong-setting tools can take your designs to the next level.
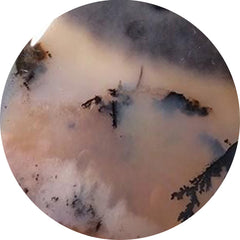
Can I use raw opals, or do they need to be cut and polished?
You can use both. Raw opals have a natural, boho charm, while polished opals offer a classic, refined look. If you desire a smoother finish, use a lapidary kit to shape and polish the stone.
How do I protect my opal jewelry from damage?
Opals are delicate, so avoid exposing them to water, extreme temperatures, or harsh chemicals. Always store your jewelry separately in a soft pouch to prevent scratches.
What's the easiest type of opal jewelry to make?
A bezel-set opal pendant or a simple wire-wrapped opal ring is a great beginner-friendly project. This is because it doesn't require soldering.