


Table of Contents
Jewelry making is a complex yet delightful craft involving creativity, skill, and precision. It can be very satisfying to create special personalized pieces for yourself or your loved ones, or even to develop a small business. But knowing what tools you'll need to make jewelry to get started is the most important part of making this a fun and productive project instead of a frustrating one.
This ultimate guide to jewelry-making tools for beginners covers the tools you’ll need, what they do, pricing, and how to select quality tools. It also goes into making rings, bracelets, and necklaces, setting stones, keeping tools in good shape, and tips for avoiding common mistakes. By the end, you will know everything you need to know about the equipment for jewelry making and how to start your journey with confidence.

Understanding Jewelry Making for Beginners
Before discussing specific tools for jewelry making, it is helpful to understand the categories and purposes of the basic jewelry-making tools. Much too often, beginners make the error of wanting to buy every tool available, which is costly and simply unnecessary. Instead, focus on the basic tools you need to:
-
Cut and shape material
-
Measure
-
Assemble
-
Polish and finish your pieces
Tools for jewelry-making beginner projects usually include pliers, cutters, files, tweezers, rulers, and a beading mat. Once you know the basic tools, you can build an understanding of more complex tools for stone-setting techniques and gemstone-setting tools.
1. Tools for Ring Making
Rings are usually one of the first things a person will create when starting with jewelry making. They are small, easy to work with, and help the novice learn the basics of metal forming and fitting. Some beginner ring-making tools are:

With these tools, beginners can practice creating bands, manipulating sizes, and experimenting with basic designs.
2. Tools for Necklace Making
Making necklaces is among the best things in designing jewelry. You can try out so many materials, including fine chain and seed beads, charms, and gemstone pendants. For those beginning to build their skills in jewelry design, working with necklaces can teach great skills in measurement, wire manipulation, and symmetry. Every necklace needs to have a balanced look and requires the maker to have patience and to have the proper tools for the job.

These jewelry-making tools will help beginners practice making jump rings, attaching beads to silk, and finishing a chain necklace with expertise.
3. Tools for Bracelet Making
Designing a bracelet usually entails using specific techniques such as crimping, beading, and finishing. Important tools for new jewelry-making beginner projects include:

Bracelets are excellent beginner projects because they involve multiple techniques, from measuring and cutting to finishing and polishing. Beginners find these basic jewelry-making tools invaluable, as they frequently utilize them in various types of jewelry projects.
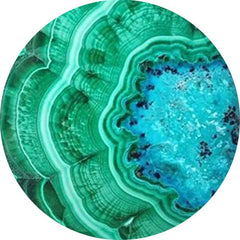
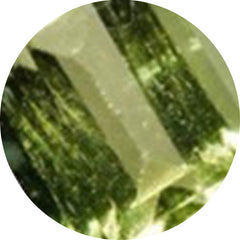
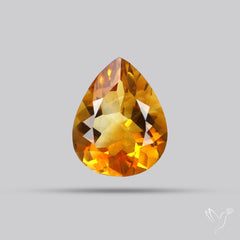
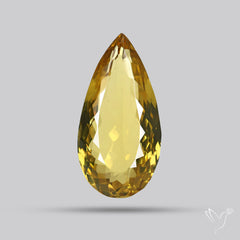
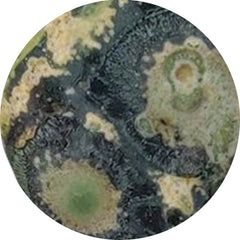
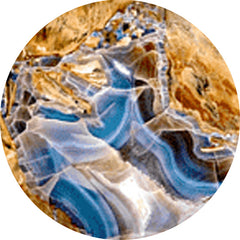
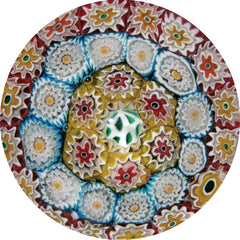
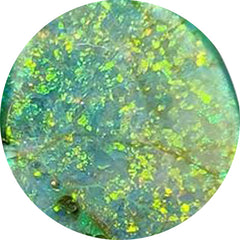
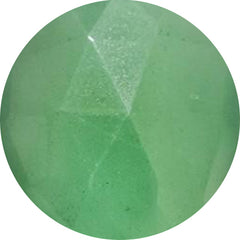
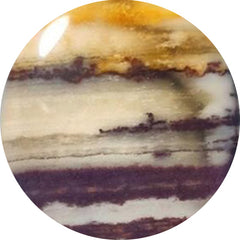
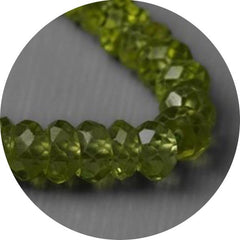
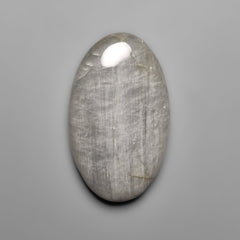
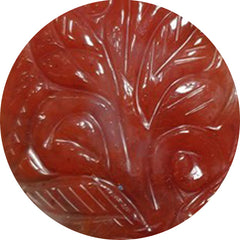
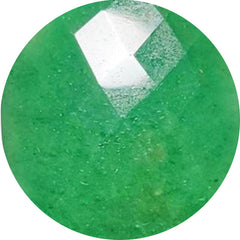
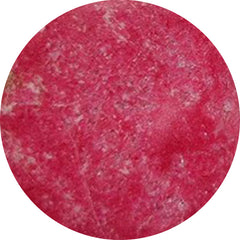
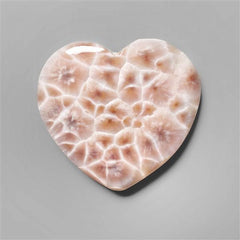
Need more sorting inspiration? See Top 20 Affordable Gemstones Every Jewelry Maker Must Stock - we group stones by price tier and durability, perfect for shelf planning.
Stone & Gem Setting Tools
Setting gemstones is one of the more delicate and rewarding aspects of making jewelry. It is the moment where the artistic craft and the precision of handwork come together, creating a simple motif of metal design into a sparkle-creating masterpiece. Whether you are using real gems or practice stones, it is important to understand and master your stone setting tools to ensure your results are secure and have a professional-like result.
Essential Tools for Setting Stones:
-
Stone-Setting Pliers: These pliers are constructed to adjust prongs and maintain the secure position of the stone. They also allow you to apply just the right amount of pressure when tightening a setting to avoid a crack or uneven placement.

-
Prong Pusher: A small yet powerful tool in stone setting, the prong pusher is used to gently press the metal prongs over the stone as a means to secure it. These are reserved for the traditional claw or prong setting.

-
Bezel Roller or Burnisher: This tool is used to ensure the smoothness and polish the edge of a bezel after the stone has been set within the bezel. This ensures a tight fit of the stone in the mount and results in a clean, professional shine on the surface.

-
Gem Noun Settings and Mountings: The metal settings or supports of the gemstones. There are different styles, such as bezels, prongs, or channels, which allow flexible design and functionality.

-
Magnifier or Jeweler's Loupe: There is no question that precision is the most important for setting stones with fine detail and/or smaller sizes. A magnifier can be used to check the alignment and depth of the surface and security of placement before final polishing.

Additional Tools for Fine Detailing:
-
Beading Tool Set: This tool is used to create a rounded and smooth edge on small accent stones, generally found in pavé or cluster settings, to provide an uninterrupted contour and to maximize the brilliance of any gemstones.

-
Needle Files: Needle files are used to refine and smooth out surfaces of rough metal, also around the stone setting, removing small imperfections, and generally leaving an even, smooth finish around the gem, even more polished than before.

-
Soft Brush: Safe to use around delicate surfaces, it will gently remove any metal dust and debris from the setting process while maintaining shine.

-
Polishing Cloth: Polishing cloths shine the natural sparkle of the gemstone while adding luster and shine to the overall shine of the piece.

-
Bench Block or Anvil: Provides a flat and stable surface for executing all of the detailed metalwork and adjustments to the piece while performing fine finishing techniques.

-
Pin Vise: A pin vise holds small drill bits, wires, or other small components when working on very small details while drilling holes into beads.

-
Tweezers: Precision tweezers help hold small, delicate stones or findings securely while working on those small components and deter slippage or scratching of surrounding areas.


How to Choose Quality Jewelry-Making Tools
Using the proper jewelry-making tools is essential for making accurate and precise finished pieces. High-quality tools last longer and will certainly make your work easier and more rewarding. There are three areas to focus on when buying jewelry-making tools and supplies, i.e., material, comfort, and accuracy.
Tools made from stainless steel or carbon steel are durable and resist rusting, and tools that have ergonomic handles made of rubber or silicone help reduce strain during long sessions. Always see how smoothly the cutters cut and how the pliers close; if they move smoothly and evenly, your results will be better.
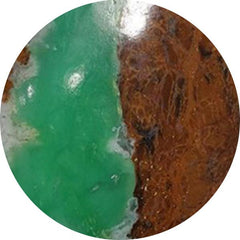
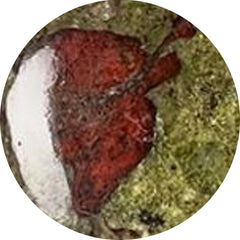
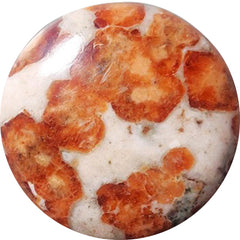
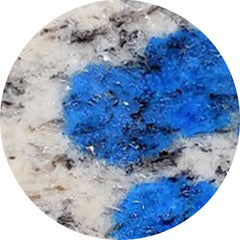
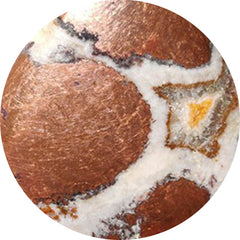
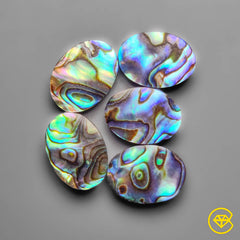
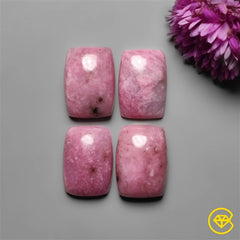
Want to keep your gemstones safe and easy to access as you start crafting? Explore our Jewelry Maker’s Guide to Storing and Organizing Gemstones for smart storage strategies.
Here are some tips for selecting tools:
-
Choose tools that feel sturdy and balanced in your hand.
-
Avoid cheap multi-piece kits, they usually wear out very quickly.
-
Purchase a set of quality basic tools such as round-nose pliers, chain-nose pliers, and wire cutters, and then build from there as you gain skills.
You can trust reliable brands such as Beadalon, EuroTool, Lindström, and Wubbers to make tools with precision and comfort. When you invest in good tools early on, you will eventually save money and, even more importantly, frustration down the road by having better cuts, more control, and a more enjoyable experience making jewelry.
Tool Care & Safety Tips
Taking care of your tools is one of the simplest things you can do that will make a big difference to the quality of your work. Clean, well-functioning tools are better for you to work with, safer, and more enjoyable. A few minutes of regular maintenance will greatly extend their life.
Tool Maintenance:
-
Always wipe your tools clean after each use to remove dust, oil, and/or metal filings.
-
Store tools in a dry, organized toolbox or drawer; this helps prevent rusting.
-
Store silica gel packs in your tool storage area to help reduce moisture.
-
Put a small drop of machine oil on plier joints to continue making them operate smoothly.
-
Replace or sharpen worn files or cutters before they lose their usefulness.

Safety is also the highest priority in any workspace. Jewelry making involves working with sharp edges, wires, and sometimes hot metal, so maintaining an awareness and good habits will help eliminate injury.
Safety Tips for Beginners:
-
Make sure you have protective glasses when using pliers to cut wire or bang on metal.
-
Ensure you have good lighting in your workspace and have a non-slip mat for your tools and materials.
-
Keep long hair tied back and do not wear loose clothing that can get caught in tools.
-
Be mindful of your posture, and take small breaks to prevent strain on your wrists or neck.
-
Keep your tools in order, and put them back where they belong after you use them.

When you keep your tools organized, well-maintained, safe, and sharp, it not only protects your investment but also allows you to concentrate on creating. You will not have to worry about using poor-quality tools or worrying about safety, allowing you to enjoy your jewelry creation more. This will also mean a more comfortable experience, a smoother process, and, quite frankly, less hassle when you are creating, and making jewelry is so worth the time invested!
Budget vs. Professional Options
When preparing to set up your first jewelry-making studio, you will have to make one of the first difficult decisions, whether to start with budget tools and supplies or to invest in professional tools. Either option can have benefits, and the option you settle on depends on your goals, your budget, your experience, and how far you want to go into jewelry making.
Budget Tools
If you are just beginning, then budget tools for jewelry-making are the best option. Budget tools will allow you to experiment with diverse techniques of jewelry-making, wire wrapping, beading, stone setting, and basic metalsmithing without breaking the bank. Each type of tool can be found in a kit, which will cover your initial needs, and the kits often include pliers, cutters, tweezers, files, and a small hammer.
Pros of Budget Tools:
-
It is inexpensive and can be easily replaced.
-
It allows you to learn the basics of using the tool and washing them together.
-
They are lightweight and simple for beginners to use.
Cons of Using Budget Tools:
-
Repeated use can wear out joints and springs.
-
They may not be precise or strong enough to apply finer detail or fit the stone.
-
The handle and grip are considerably less ergonomic, which can lead to fatigue in longer sessions.

Professional-Grade Options:
Once jewelry making begins to go beyond the hobby stage, using tools intended for professional use is a game-changer for accuracy and completing projects. Premium brands like Lindstrom, Beadalon, Wubbers, EuroTool, and Grobet are among the favorites used by experienced jewelers because of their high quality and craftsmanship. Professional tools are made of higher-quality metals than most jewelry-making tools and are made to last, while providing smoother action and consistency and improving your control.

Benefits of Using Professional Tools
-
Build quality leads to precise work and longer-lasting tools.
-
The ergonomic handle makes the tool easier to control and lessens strain during long periods of use.
-
Sharper cutter tips and a tighter fit of pliers allow for cleaner work and more delicate pieces.
-
Great for some advanced techniques and larger projects, like setting a stone, making a ring, or heavy wire work.

Even though the initial cost is generally higher than most tools, they will last and change your work quality, so it will balance out in the long run. A single pair of good pliers may only cost $30-50 but will last several years with proper care and relatively everyday use.
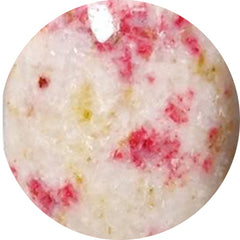
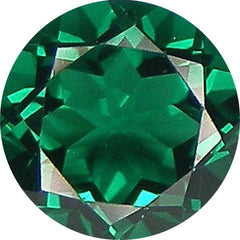
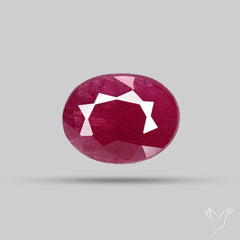
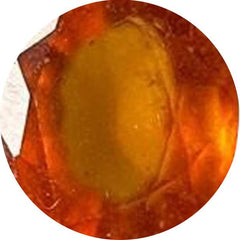
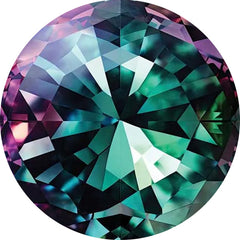
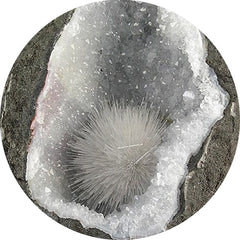
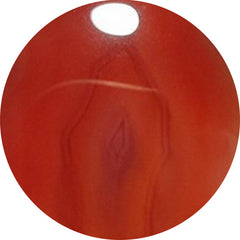
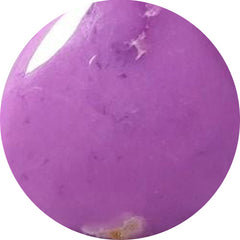
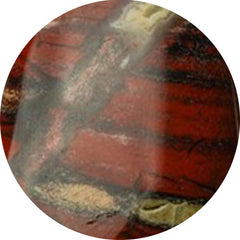
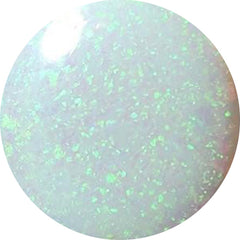
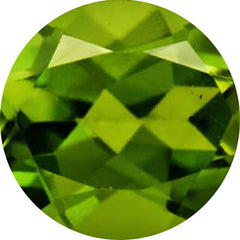
Curious which stones work best with finger astrology? Explore our guide on the Top 5 Gemstones to Wear on Your Index Finger to choose the perfect one.
Finding the Right Balance
Most jewelry creators find that a hybrid approach works best, starting with an affordable toolkit and then upgrading each of the individual tools as they build their skill and confidence.
Smart upgrade strategy:
-
Start with a clean, inexpensive, well-rated beginner set.
-
Replace the tools you use most often (e.g., chain-nose pliers, flush cutters, etc.) with professional versions first.
-
Keep your budget tools only for light-duty or backup uses.
This gradual approach allows you to grow at your own pace while developing a reliable, personalized collection that works with your style and technique. Over time, the difference is apparent; they’ll both help you get to where you want to be, but professional tools will help you do it better.
In the end, the right decision isn’t about cost; it is about purpose. Get tools that fit your needs now, care for them, and upgrade when your creativity needs more precision. The best jewelers don’t just amass tools; they evolve with them.
Common Mistakes to Avoid
Even minor mistakes can ruin your jewelry project, particularly if you are new to jewelry making. A common mistake of beginners is using tools they may have on hand in their house; household pliers or dull cutters (from craft sections at chain stores) can ruin fine wires. Please use proper tools for making jewelry: they will be much more accurate, sharper, and safer.
Another common consideration is keeping your tools in good repair. If your tools are dirty or rusted, they will not make even cuts and will ruin fine material. Wipe your tools clean after use and store them away from moisture to avoid corrosion.
Other frequent errors to be aware of:
-
Using too much pressure on prongs or bezels could potentially crack a gemstone.
-
Skipping measurements or not using the proper wire gauge.
-
Rushing through a project instead of allowing for going back and forth or working in stages.
-
Ignoring even basic safety, like wearing goggles when cutting or sanding.

If you maintain your tools, organize your workspace, and maintain a steady pace, you can achieve clean, professional results every time.
Final Thoughts
Jewelry making is a creative art and a practical skill that only develops with practice, a bit of patience, and the tools to develop the right skill set. For beginners, using basic jewelry-making tools has the double value of giving the beginner confidence to learn and discover the craft of jewelry making early on. Every plier, cutter, or file has a purpose, and knowing how to use your tools effectively as well as how to care for them will lay an excellent foundation for each future design.
As you practice, upgrading to professional tools will naturally create more precision in your work, as well as improve your efficiency. The difference you will notice in comfort, control, and overall finish will become apparent fairly quickly, especially with more detailed work, such as stone setting and ring making.
However, remember that the tools are only as good as the hands that control them. Relax, take your time and work deliberately, and enjoy the experience of every single stage of the process. If you keep going with your consistency and creativity, you will evolve your skills, and your jewelry will start to reflect the thought, effort, and artistry of creating a piece of jewelry.
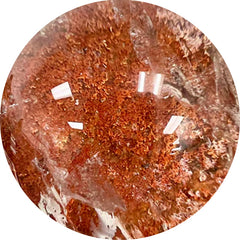
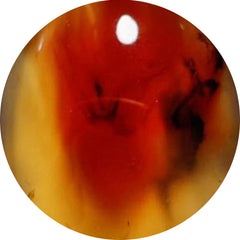
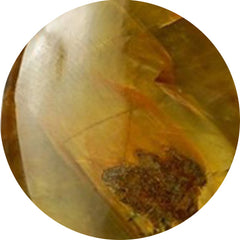
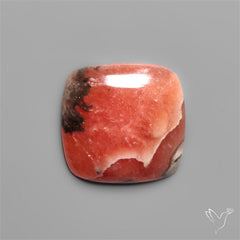
As you continue to sharpen your skills, pairing your tools with authentic gemstones will elevate your projects. You can explore a wide selection of natural gemstones at GemstonesForSale, a trusted source for high-quality stones suitable for jewelry-making and setting.
FAQ
1. What tools do you need to make jewelry as a beginner?
Basic tools include round-nose pliers, chain-nose pliers, wire cutters, files, tweezers, and a small hammer. A beading mat and good lighting will also help create a comfortable workspace.
2. Do beginners need expensive tools?
Not at the beginning. You can purchase quality beginner kits and upgrade as your technique improves, but the goal is to be able to use each tool properly.
3. What tools are used for stone setting?
Essential stone-setting tools consist of stone-setting pliers to tighten prongs, a prong pusher for securing the gem, and a bezel roller or burnisher for smoothing metal edges. Beading tools and needle files are used to shape the setting, while a jeweler’s loupe is useful for getting a closer look.
4. How do I take care of my jewelry-making tools?
Keep tools dry, clean them after every use, and store them neatly. Consistent care helps to avoid rust and keep your performance sharp.
5. What is the most frequent mistake for beginners?
Rushing through the project and using the wrong tools. It is important to slow down because this is where a precision technique occurs, which will give the jewelry a true sparkle.